Key Features
- User-Friendly Setup
Simply include the provided Demo Scene in your build settings, configure your project for iOS, and you’re ready to connect devices. - Client & Server Modes
Flexibly switch between client and server roles so you can send or receive data as needed for multiplayer, messaging, or other scenarios. - Simple Workflow
Advertise and scan for nearby devices with just a few lines of code—no complex Bluetooth protocols required. - Customizable
Adapt the core functionality to suit your specific use case—be it games, real-time data collection, or secure communication apps.
Technical details
How to transfer between devices:
General Steps (for both Client and Server)
- Open Main Demo Scene: Navigate to Assets/iOSBluetoothPlugin/Example/Scene/MainDemoScene and open the scene.
- Add Scene to Build: Include the Main Demo Scene in your build settings.
- Configure Platform: Ensure your chosen platform iOS is supported by the plugin and configure your project accordingly.
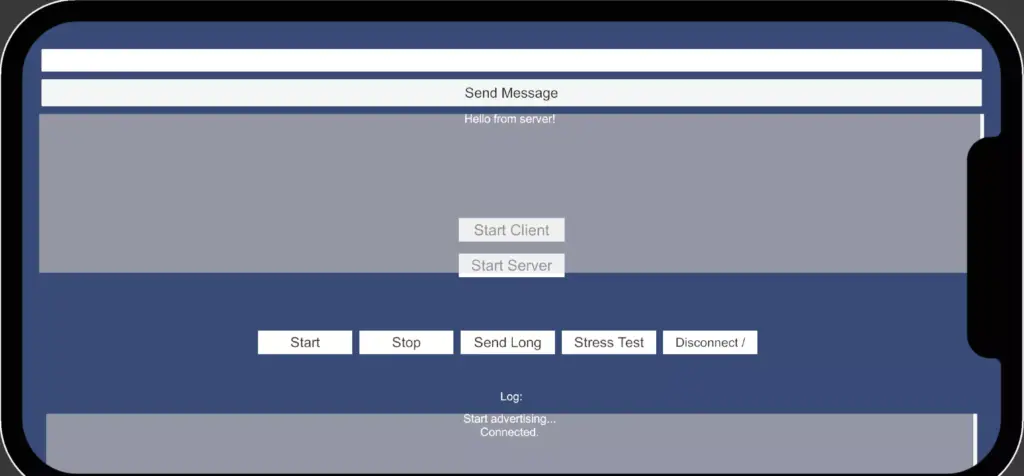
Client-Side Steps
- Start Client: Launch the app and click “Start Client.” Enable Bluetooth if prompted.
- Enter Text: Type the message you want to send into the input field.
- Start Advertising: Click “Start Advertising.” Your device will broadcast messages.
- Send Message: Press “Send Message” to transmit the message to connected devices.
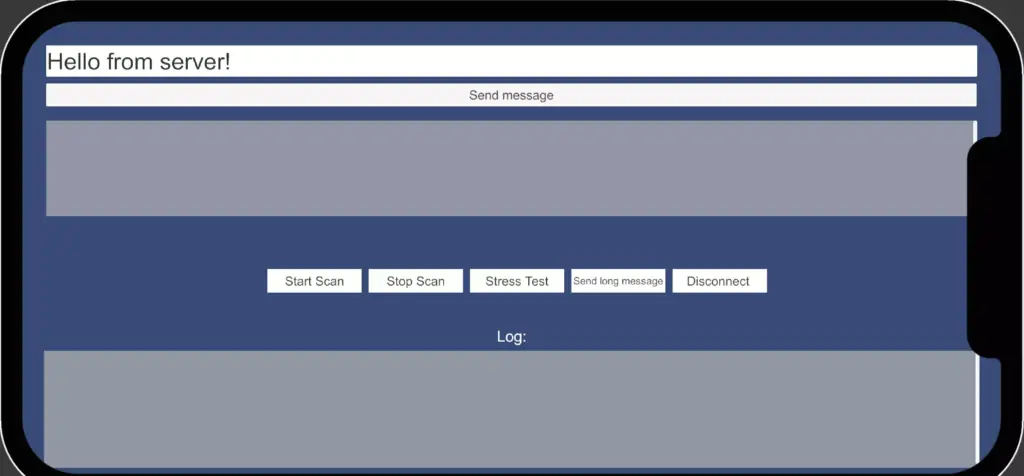
Server-Side Steps
- Start Server: Launch the app and click “Start Server.” Enable Bluetooth if prompted.
- Enter Text: Type the message you want to send into the input field.
- Start Scanning: Click “Start Scan.” Your device will search for and connect to nearby devices.
- Send Message: Press “Send Message” to transmit the message to connected devices.
Note: These steps assume you’ve already set up your Unity project and have basic knowledge of Unity’s interface.